How to import or export floor maps?
Importing Floor Maps
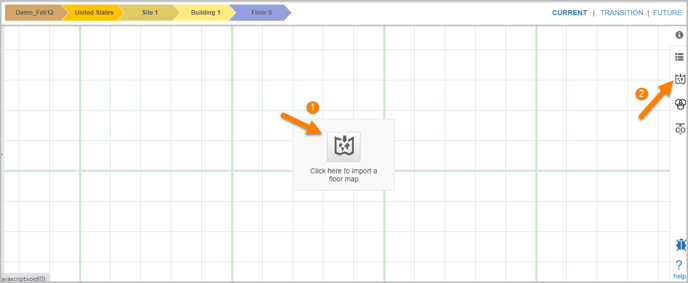
Floor Maps can be imported in two different ways:
- By clicking the Import button icon
 on the floor.
- By using the Import button on the sidebar.
📓 - The file size of the floor map must be less than 10 MB. The supported file formats are JPG, PNG, GIF, TIFF, or PDF. Layered PDF format is not supported.
📓 - You need to keep the following points in mind while naming a floor map file:
The following special characters are not allowed: \ / : * " < > |
The file name can not contain more than one period or start with a period.
The file name must be below 255 characters.
The Grayscale check box converts the colored floor map into gray-scale. It remains selected by default. The user can deselect the check box to import a colored floor map. The Grayscale option can be useful in situations where colored plotted asset icons might be confused with the colored floor maps.
The Fleet Designer can upload a new floor map in place of an existing one. The devices plotted on the first floor map will still be available on the new uploaded floor map.
Exporting Floor Maps
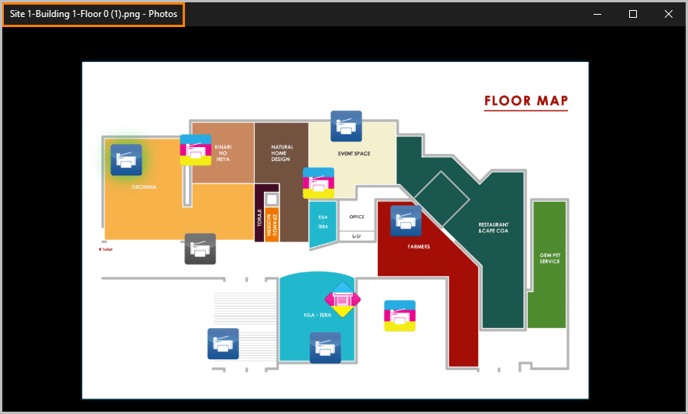
A floor map can be exported in different formats. The supported formats for downloading the floor map are PDF (96 dpi and 150 dpi), PNG and JPG. When you export a floor map, the default file name displays the path of site-building-floor details.
📓 - If there is any unsupported characters in the level name, then the floor map file name displays - - (hyphen) in place of specials characters.