Color zones can be viewed in any Portico state, but can be manipulated only in the Current state. The Fleet Designer can create multiple color zones on the floor map.
To create a color zone,
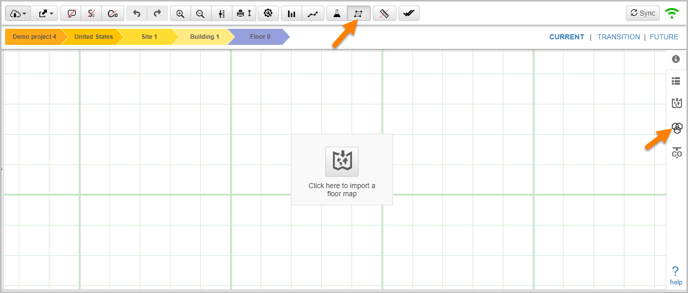
- Toggle the Color Zone icon on the Utility Toolbar to enable zone drawing.
- Select the Color Zone icon on the Sidebar.
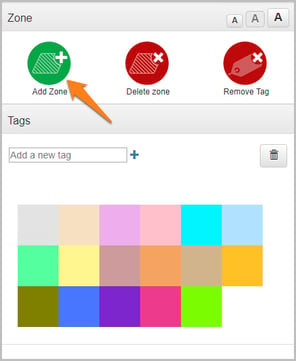
- Click the Add Zone button.
- Click and select a point on the floor map, from where the zoning needs to begin. Incorporate all the assets required within the zone.
- Complete the color zone area by closing the point-to-point loop.
📓 - Click to close the loop only when the finger pointer appears.
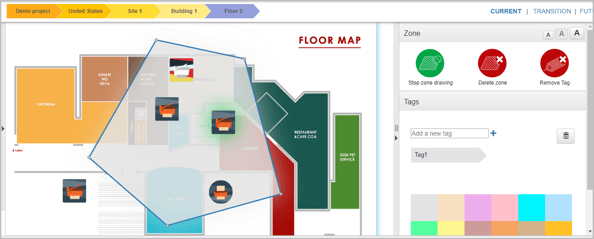
📓- A minimum of 3 vertices are required to complete a zone. The user needs to click the Stop Zone Drawing button before proceeding to draw the next zone.
The color palette window is used for performing the following functions:
- Adding / Deleting Zones
- Adding / Removing / Deleting tags
- Editing colors
Click and drag to move a color zone area to a desired location on the floor map. The vertices can be clicked and dragged to change the shape of the selected color zone.
The assets within a zone can be dragged outside of the zone or an external asset can be dragged inside the zone from the floor map. Moving an asset from one color zone to the other updates the corresponding tag name for that asset.
📓 - User can add multiple color zones on the floor map. All the zones drawn on the floor map can be seen by clicking the color zone icon on the Utility Toolbar.
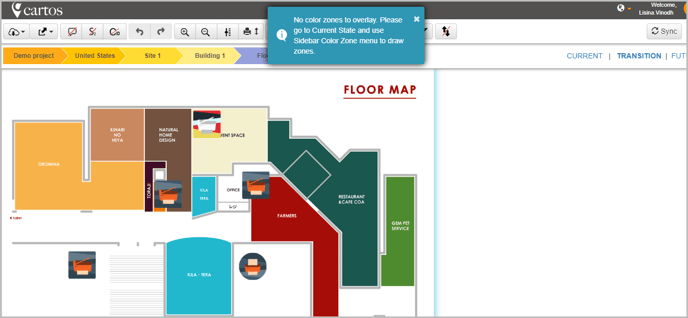
If there are no color zones drawn on the floor map, and if the user tries to view the color zones from Transition state or Future state, the following error message pops up.