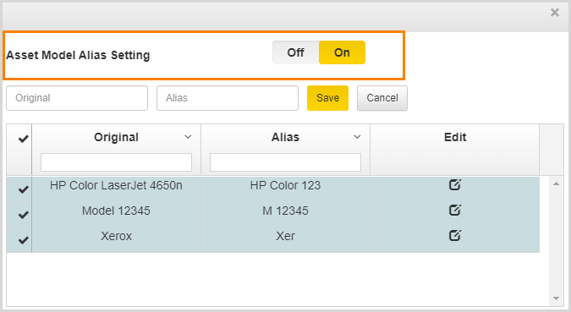
This feature is used to give short alias names for different asset models. When there are too many assets on the floor, and the user switches the label on, lengthy model names can result in unclear information about the assets. To avoid this, the user can enter short alias names for the assets. These short names can be added either manually or the user can directly import it.
To add an alias name manually:
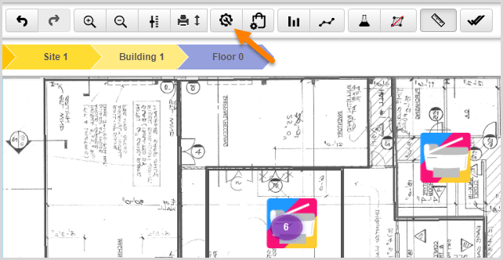
- Click the Settings icon on the Utility Toolbar.
- Navigate to Model Alias and enter the model name in the Original text box and the Alias name in the Alias text box.
- Click Save.
- Click Apply.
- Click the Import button to import a file.
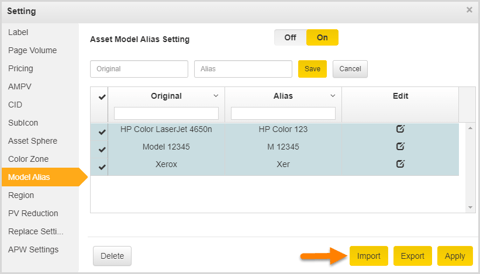
- Choose a file using Choose File Option.
- Click the Import button.
- Click the Apply button to display the Alias name on the floor map.
📓 - A file with duplicate alias names is not supported.
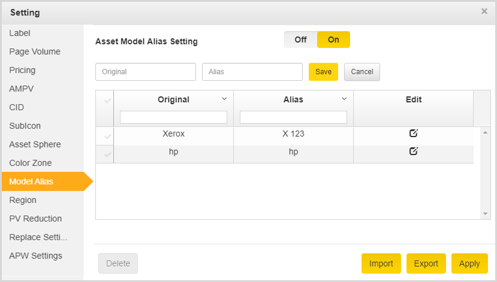
To edit an Alias name,
- Click the Edit icon.
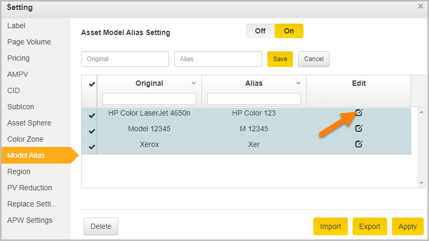
- After making the required changes, click the Apply button.
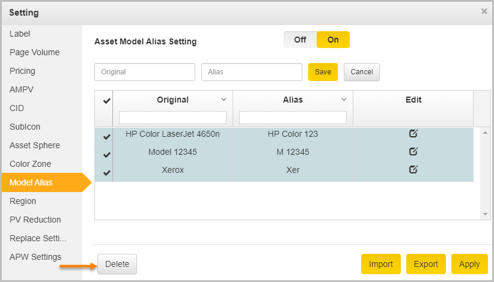
To delete an Alias, check the Alias you want to delete and click the Delete button.
To display the Alias name on the floor map always turn on the Settings.